Dear Santa....
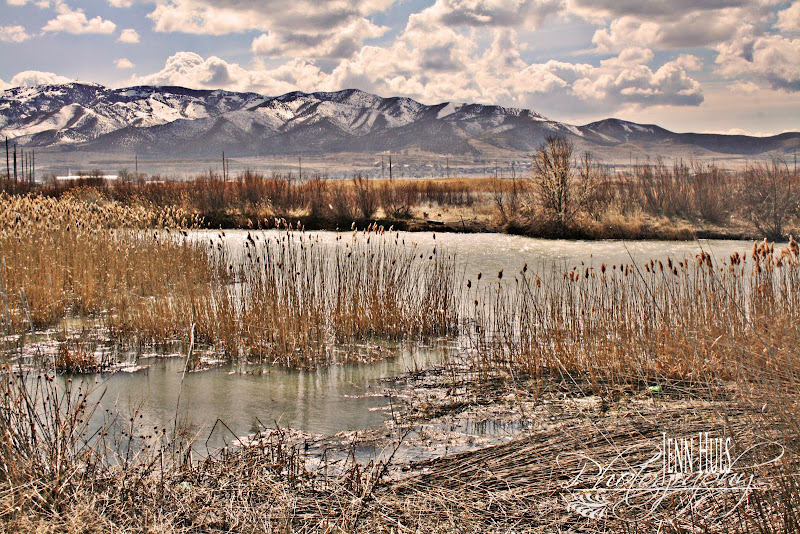
I had a little extra time this week, so there are quite a few pictures. Don't expect to see this many next week. I have to get back to real life, and work on things for my next boutique show. I had fun playing around with my camera this week and trying out some different styles. Some things did not work at all: like I tried to take a picture of the full moon over our lake (it just was a big blob of light over a lake, and pictures of some birds that kept flying away. What it all boiled down to even with the shots I did manage to take successfully is: I need more equipment! My Christmas list keeps getting longer and longer, a tripod, a new lens, and a studio flash set are just a start. But I am having a hard time knowing how much to spend on each, and what type of lens to get. There is a great one for around $100, it is great for portrait work, but I also wish I had a better zoom lens, those are more pricey. I guess I better get on Santa's nice list.
I had a little extra time this week, so there are quite a few pictures. Don't expect to see this many next week. I have to get back to real life, and work on things for my next boutique show. I had fun playing around with my camera this week and trying out some different styles. Some things did not work at all: like I tried to take a picture of the full moon over our lake (it just was a big blob of light over a lake, and pictures of some birds that kept flying away. What it all boiled down to even with the shots I did manage to take successfully is: I need more equipment! My Christmas list keeps getting longer and longer, a tripod, a new lens, and a studio flash set are just a start. But I am having a hard time knowing how much to spend on each, and what type of lens to get. There is a great one for around $100, it is great for portrait work, but I also wish I had a better zoom lens, those are more pricey. I guess I better get on Santa's nice list.
Portraits
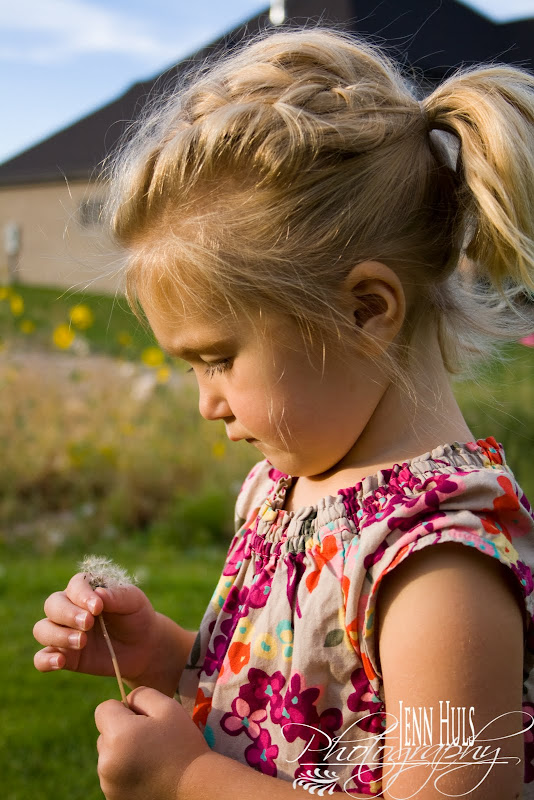
Here is my cute neighbor Abi, she is one of my girl's best friends. They were outside playing and they both had their hair done cute because of school pictures that day, I told them I wanted them to be my models. My daughter was being a little goofy and her pictures didn't turn out very well, but Abi is really photogenic and I had several of her that turned out well. Here is my favorite:


Macro Photography:
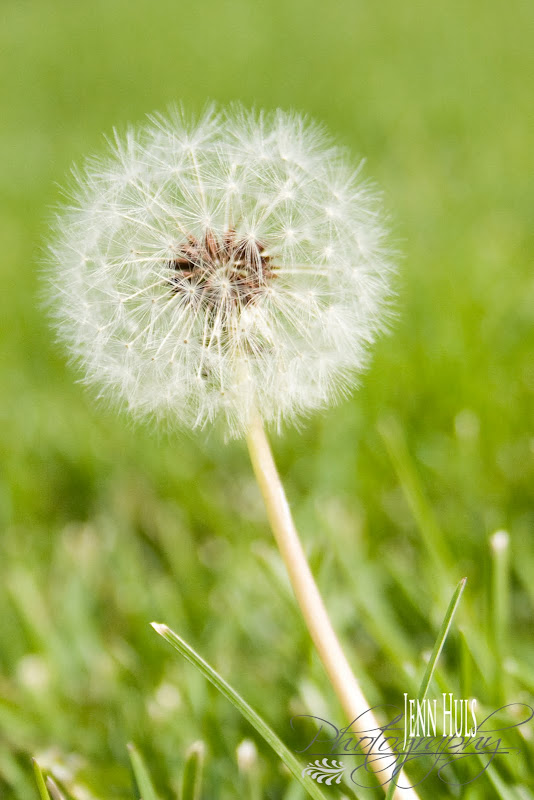
I have to say out of all photography styles next to portrait work, Macro Photography has to be my favorite. It is fun to get right in there and discover a whole other world. We have a tree in our front yard full of hornets. I have tried several times to get a good shot of one, I was finally successful with this one:
Here is a super close up of a Hen and Chick plant. I think it turned out pretty cool.
This is one I was doing with some beads, it was suppose to be a practice in long exposure but those pictures were a complete failure. I decided to give up and just take some shots in regular light. I really like the way they turned out, and if my girls are any indication of a good photo, this was their one of their favorites.
Overlays
I did a little bit with overlays last week, but this week I really had fun with it. I have a bunch of digital scrapbook paper and saw this idea from a digital scrapbooking tutorial my friend Kayla Lamoreaux does. http://digiscrap101.com/. She used special overlays you can buy off a website. But I found a way to use regular scrapbook paper as an overlay and it worked almost as well. Here are just a few examples of some photos I took and used this technique on this week:

Love my little dancing girl! This is her second week in the little dance school I teach in my basement. She wanted to wear one of my her older sisters old dance costumes. She was not cooperating very well for these pictures, but I managed to get a couple cute shots.

This is one where she just was not cooperating. I wanted a full shot to show you her cute tap shoes, but she was pulling a silly face that was NOT cute, not even for a candid. So I had the idea to crop this one of just her shoes and group it with the one above that shows her and the rest of her cute costume. I like the cropping effect.

Here is one of the fire hydrant in our front yard. It is nothing special, but with the fake HDR and overlays I applied I think it looks pretty cool.

One more, see I had way too much fun with this. Actually, this does not have an overlay, just the fake HDR effect. These are pictures of grapes we grew in our back yard. We ended up with so many this year! It is fun to just go out and pick a bowl full of grapes to eat whenever you feel like it.
Physiograms
Okay, these are definitely my girls favorites. They kept begging me to let them try to make one, but making physiograms is NOT easy. Especially when you don't have a tripod. If you want to try one yourself this is what you need. A dark room with a flash light suspended by a string from the ceiling, a mirror (you actually take a picture of the reflection), and a tripod (or if you are like me and don't have one you must find a way to hold the camera perfectly still for about 30 seconds or so). I sat on a chair and propped both elbows on my knees and it worked pretty well.
Then you start the light swinging in a circular motion and with your camera set to bulb, ISO 100 and f5.6 you hold the shutter button down for a few seconds until the light almost stops. Then look and see what you got. It was fun! I had to make some adjustments the exposure when I was done, but all in all I think they turned out pretty cool here are two of my favorites:
Well that's it for this week. I would love to hear your comments. Especially constructive criticism. The whole point of this blog is to help me learn how to take better pictures. So I would love feedback from those of you who actually know what they are doing, instead of pretending like me.


